MacOS Installation Failed: 10 Fixes for An Error Occurred While Installing The Selected Updates


I think there's an issue with my storage device, but I'm not sure
Start a free evaluation
The error message "An error occurred while installing the selected updates" when trying to update macOS has several causes, and there are several potential solutions. If the message recommends a solution, such as redownloading the installer and trying again, please try that first before attempting any of these solutions. If that fails or if it is not an option, then you can continue with some of the following solutions to see if they work for you.
Quick tips to fix An Error Occurred While Installing The Selected Updates on Mac
- Redownload the installer and try again.
- Verify permissions and repair disk issues.
- Contact Apple support for further assistance
- Contact a recovery service to get back up and running on your Mac.
Solution 1. Check your internet connection
If you’re experiencing a poor internet connection while downloading the updates, it can cause the "An error occurred while installing the selected updates" issue. If this is the case, try restarting your router or switching to another Internet connection.
Solution 2. Restart your Mac
Another potential solution for this problem is to restart your Mac and try again. If the error occurred due to a system glitch, then potentially restarting will fix it. To force reboot a Mac, press and hold the power button on your Mac for up to 10 seconds, until your Mac turns off. If you can’t find your power button, press and hold Touch ID.
Solution 3. Use Disk Utility to repair disk errors
You can use Disk Utility to check and repair any disk errors that could be causing the "An error occurred while installing the selected updates" issue. To do this, go to Utilities in Finder and launch Disk Utility. Select your startup disk and click the First Aid tab.

If any errors are detected, click Repair Disk to try to fix them.
Solution 4. Install in safe mode
Try installing the updates in safe mode. To boot your Mac into safe mode, shut down your computer and turn it back on while holding the Shift key if it’s an Intel processor. If it’s Apple silicon, then keep pressing and holding the power button until you see the startup window. If any third-party app or service is causing this issue, then it should be bypassed when running in Safe Mode. Select your startup disk, then press and hold the Shift key while clicking “Continue in Safe Mode.”Log in to your Mac. Then, select ”Safe Boot” in the upper-right corner of the window.
Solution 5. Turn on Content Caching
Another potential solution is to enable Content Caching. This feature can help speed up downloads and installations, so it might be worth a try if you still have issues. To enable content caching, go to
System Preferences > Sharing > Content Caching
and check the box next to "Enable Content Caching". Select All Content from the Cache dropdown menu and install the updates again.

Solution 6. Update using Bootable Installer
One more solution is to update your Mac using a bootable installer. This is an advanced solution that requires creating a bootable installer on an external drive and booting from it instead. If you have experience doing this, or if you're willing to research how to do it, then this may be worth trying as a last resort. Step 1. Download the macOS update from the Mac App Store into an external drive with 16 GB or more of available space.Step 2. Then download and launch Disk Creator on your Mac. Find your USB drive in the app. Choose the macOS update file and click on Create Installer.Step 3. Reboot your Mac and select your USB installer from the list to install the macOS update.
Solution 7. Check Your Storage Space
Check if your Mac has enough storage space available. If you don't have enough space, then the update may not be able to install properly and could cause an error message. If this is the case, try freeing up some space to see if that resolves the issue.
Solution 8. Reset PRAM & NVRAM Caches
Finally, you can try resetting your Mac's PRAM and NVRAM caches. If any of these settings have gone wrong, they could potentially interfere with the update process switching an error message. To reset them, shut down your computer and then press and hold the Option+Command+P+R keys until you hear two startup chimes.

Try to install the updates again.
Solution 9. Remove and reinstall macOS
If none of the above solutions resolve your issue, then you may need to remove and reinstall macOS. This is a drastic solution and should only be used as a last resort, but it could potentially fix any underlying issues that are preventing the update from installing properly.
Solution 10. Contact an expert for help
If none of these work for you, then it is recommended to contact Apple support or seek out a recovery service for further assistance. SalvageData experts have years of experience recovering data from Apple devices. Contact us 24/7 for a personalized Mac recovery service.
TL; DR: If you encounter an error message "An error occurred while installing the selected updates" on your Mac, try restarting your router or switching to another internet connection. If that doesn't work, try restarting your Mac, using Disk Utility to repair disk errors, installing in safe mode, enabling content caching, updating using a bootable installer, forcing a restart of your Mac, checking storage space available, and resetting PRAM & NVRAM caches. If none of these solutions fix the issue, then you may need to remove and reinstall macOS as a last resort.
Related services
These are the most commonly requested data recovery services. At our headquarters' cleanroom lab, our certified engineers conduct a thorough review of any type of physical storage device, determining if there is logical or physical damage and carefully restoring all of the lost files.ces.

External Drive Data Recovery
We recover data from both external SSD and HDD drives. Rely on certified experts to restore your important files from damaged or corrupted external drives.
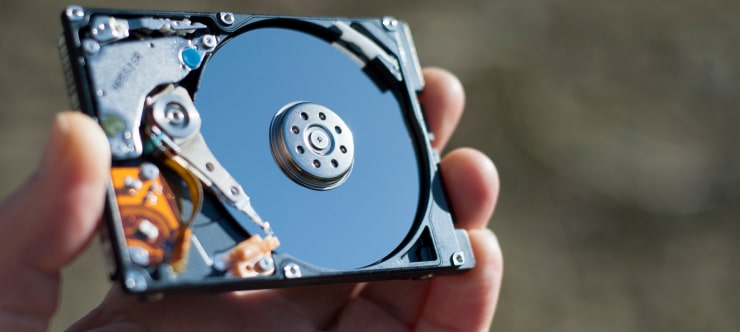
Hard Drive Data Recovery
Recover data from all brands of HDD, PC hard drives, and hybrid disks. Our specialists ensure fast and secure recovery for any data loss scenario.
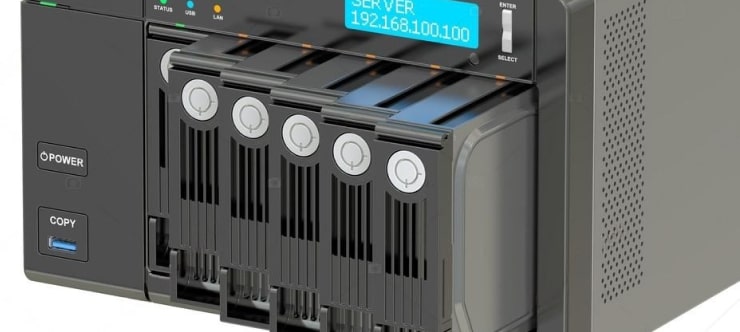
NAS Data Recovery
Recover data from NAS devices, including RAID configurations. Our team handles all types of NAS systems and ensures data recovery with minimal downtime.

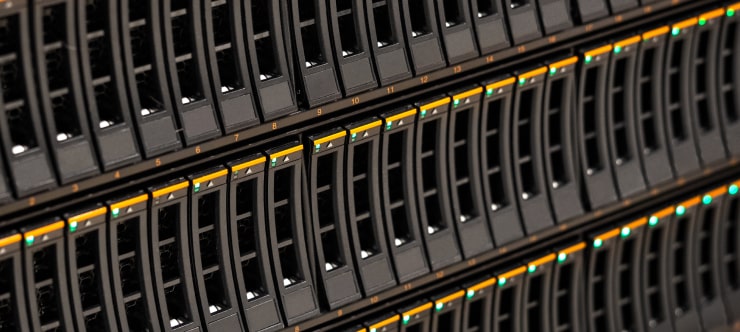
RAID Data Recovery
Our RAID data recovery services cover RAID 0, 1, 5, 10, and other configurations. We offer expert solutions for failed, degraded, or corrupted RAID arrays.
SAN Data Recovery
Our team specializes in handling SAN devices from leading manufacturers like Dell EMC, HP, and IBM, ensuring efficient recovery with minimal disruption to your operations.

SD Card Data Recovery
Our recovery experts specialize in restoring data from SD and memory cards. We guarantee quick recovery with a no-data, no-charge policy.
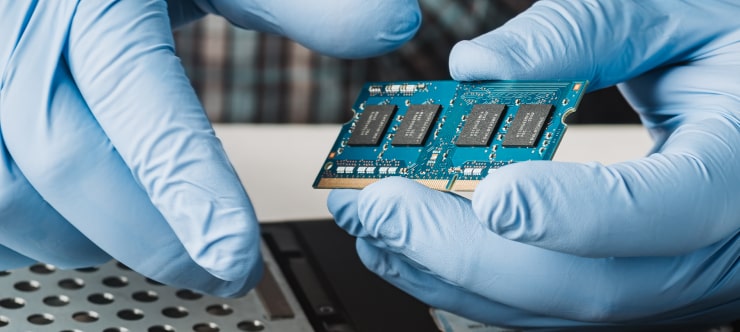
SSD Data Recovery
Our data recovery experts handle all SSD data loss scenarios with advanced tools, ensuring maximum recovery with high-security protocols.

USB Flash Drive Data Recovery
Recover lost data from USB flash drives, regardless of the damage or brand. We offer free in-lab evaluations to assess data recovery needs.
If you’re unsure about which data recovery service to choose, let our team assist you in selecting the appropriate solutions. We understand the anxiety that comes with a sudden drive failure, and we are more prompt in our actions compared to other recovery service providers.