What To Do When You See A Blinking Folder With A Question Mark On Mac


I think there's an issue with my storage device, but I'm not sure
Start a free evaluation
A blinking folder with a question mark on your Mac usually means that there is a problem with your device and it's trying to tell you something. Most of the time, this blinking folder is a macOS error code for "boot device not found." The good news is that there are several actions to do when you see the Mac folder with a question mark and fix it.
The main causes of the blinking question mark folder on Mac include:
- The startup disk or file is corrupted or can’t be found
- Damaged or corrupted hard drive
- Incorrectly configured firmware
- Faulty logic board
[caption id="" align="alignnone" width="628"]

Source: Apple support[/caption]
How to fix the blinking question mark folder on Mac?
Here are easy-to-follow solutions to fix the blinking question mark folder on Mac. If the problem persists after you try those solutions, make sure to contact Apple support to avoid further issues.
Restart your computer and try again
Sometimes, this can help fix the issue if it was a temporary problem that caused it. To restart your Mac, press and hold the power button for up to 10 seconds or until your Mac turns off.If you can’t find your Mac power button, find the Touch ID, then press and hold it.
Run Disk Utility
This is a built-in tool that can help you repair your disk and solve the problem.Since your Mac isn’t starting up all the way, you must open the Disk Utility from macOS Recovery.Before starting, determine whether you're using a Mac with Apple silicon or Intel processor.Apple silicon. Turn on your Mac and hold the power button until you see the startup options window. Click the gear icon labeled Options, then click Continue.Intel processor. Turn on your Mac, then immediately press and hold Command (⌘) and R keys until you see an Apple logo.When you see the utilities window in macOS Recovery, select Disk Utility and hit Continue.[caption id="" align="alignnone" width="406"]
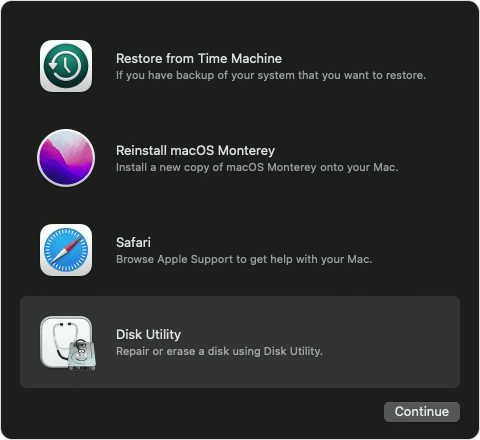
Source: Apple support[/caption]Find the disk with the bootable media on the disks list and then run First Aid to repair the volumes.The process should end on its own, and you must be able to use your Mac again.[caption id="" align="alignnone" width="597"]
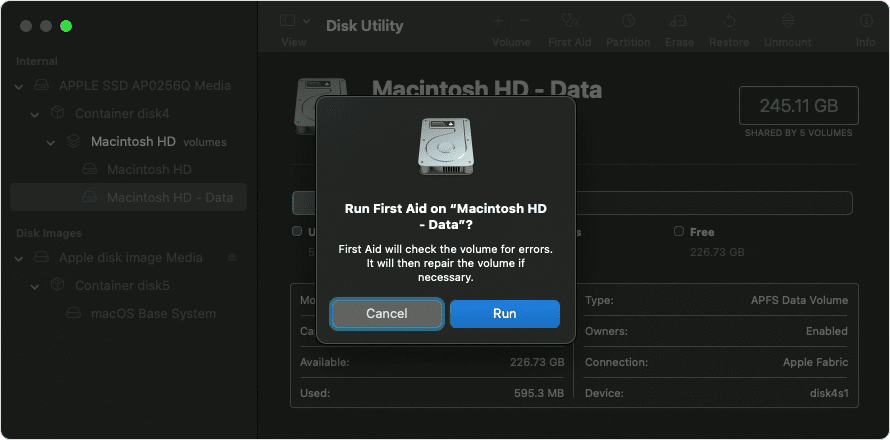
Source: Apple support[/caption]
Reinstall the Mac operating system
Reinstalling the macOS will erase all the files on your Mac. Contact SalvageData experts if you don’t have a backup of your computer data.
Before starting, determine whether you're using a Mac with Apple silicon or Intel processor.Apple silicon. Turn on your Mac and hold the power button until you see the startup options window. Click the gear icon labeled Options, then click Continue.Intel processor. Turn on your Mac, then immediately press and hold Command (⌘) and R keys until you see an Apple logo.On the Utility window in macOS Recovery, select the Reinstall macOS option and click on Continue.[caption id="" align="alignnone" width="341"]
Source: Apple support[/caption]Follow the instructions on your screen, allowing the installation to proceed without putting the Mac to sleep.Make all the setups again and use your backup to continue using your Mac.
Try starting up in Safe Mode
This will help to determine if the issue is being caused by a third-party software program and check startup system preferences.Press and hold the power button on your Mac until you see Loading Startup Options. Select then a volume and press and hold the Shift key. Click Continue in Safe Mode.Find System Preferences from the menu on top and click on Startup Disk.Select the startup disk and restart your Mac.
Reset the NVRAM or PRAM
This might help if incorrect firmware settings caused the issue. [caption id="" align="alignnone" width="437"]

Source: Apple support[/caption]Press the power button to start your computer and hold Command + Option + P + R simultaneously while your computer boots up. After you hear the startup sound, release the keys and allow your computer to finish booting up.
Create a bootable medium and start the Mac from it
Use another computer to create a bootable USB drive with the Mac operating system and start your Mac from it.Although this will not fix the issue, it allows you to back up your data so you can reinstall the macOS.
Summary: Although a serious problem that can lead to data loss, the blinking question mark folder on Mac can be easily solved. You will need for most solutions only the built-in tools. To avoid any data loss in the future, make sure to always back up your files to a safety device or to a cloud account.
How to recover a lost file after fixing the question mark folder on Mac?
If you lose your data while fixing the blinking question mark folder issue, you can restore your computer from Apple’s Time Machine backup or any other recent backup you have.However, if you don’t have a backup of your files, contact SalvageData 24/7 for secure recovery of your Mac data. Our engineers have extensive experience with Apple devices to offer the best Mac data recovery service.
Related services
These are the most commonly requested data recovery services. At our headquarters' cleanroom lab, our certified engineers conduct a thorough review of any type of physical storage device, determining if there is logical or physical damage and carefully restoring all of the lost files.ces.
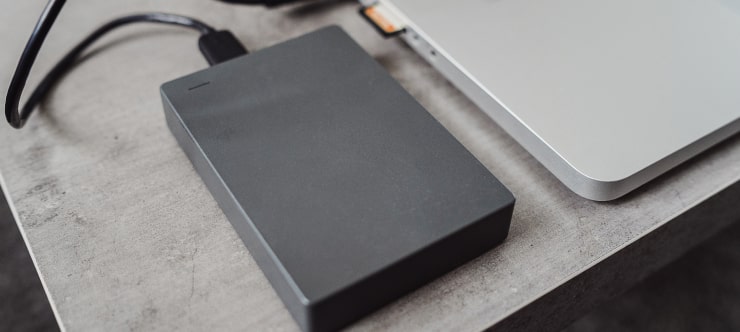
External Drive Data Recovery
We recover data from both external SSD and HDD drives. Rely on certified experts to restore your important files from damaged or corrupted external drives.
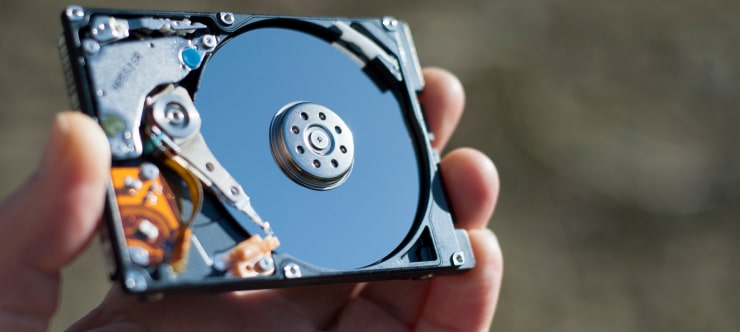
Hard Drive Data Recovery
Recover data from all brands of HDD, PC hard drives, and hybrid disks. Our specialists ensure fast and secure recovery for any data loss scenario.
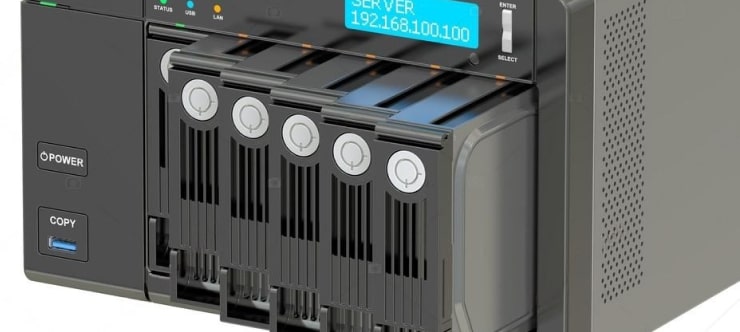
NAS Data Recovery
Recover data from NAS devices, including RAID configurations. Our team handles all types of NAS systems and ensures data recovery with minimal downtime.
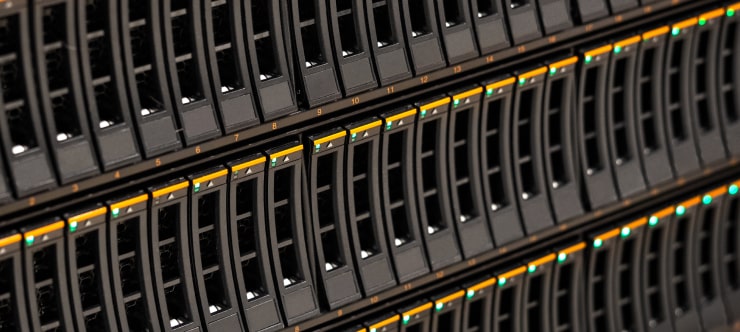
RAID Data Recovery
Our RAID data recovery services cover RAID 0, 1, 5, 10, and other configurations. We offer expert solutions for failed, degraded, or corrupted RAID arrays.
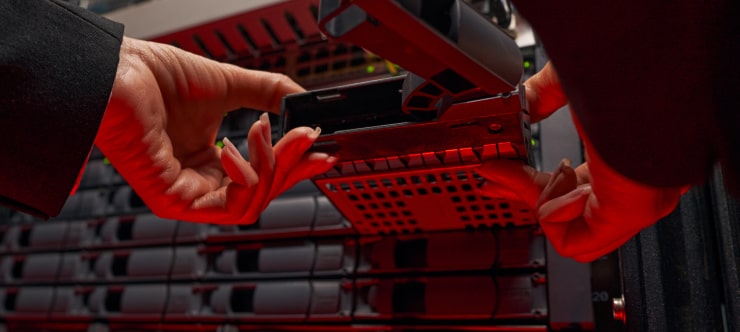
SAN Data Recovery
Our team specializes in handling SAN devices from leading manufacturers like Dell EMC, HP, and IBM, ensuring efficient recovery with minimal disruption to your operations.
SD Card Data Recovery
Our recovery experts specialize in restoring data from SD and memory cards. We guarantee quick recovery with a no-data, no-charge policy.
SSD Data Recovery
Our data recovery experts handle all SSD data loss scenarios with advanced tools, ensuring maximum recovery with high-security protocols.

USB Flash Drive Data Recovery
Recover lost data from USB flash drives, regardless of the damage or brand. We offer free in-lab evaluations to assess data recovery needs.
If you’re unsure about which data recovery service to choose, let our team assist you in selecting the appropriate solutions. We understand the anxiety that comes with a sudden drive failure, and we are more prompt in our actions compared to other recovery service providers.