9 Solutions If Your PC Turns On But There’s No Display


I think there's an issue with my storage device, but I'm not sure
Start a free evaluation
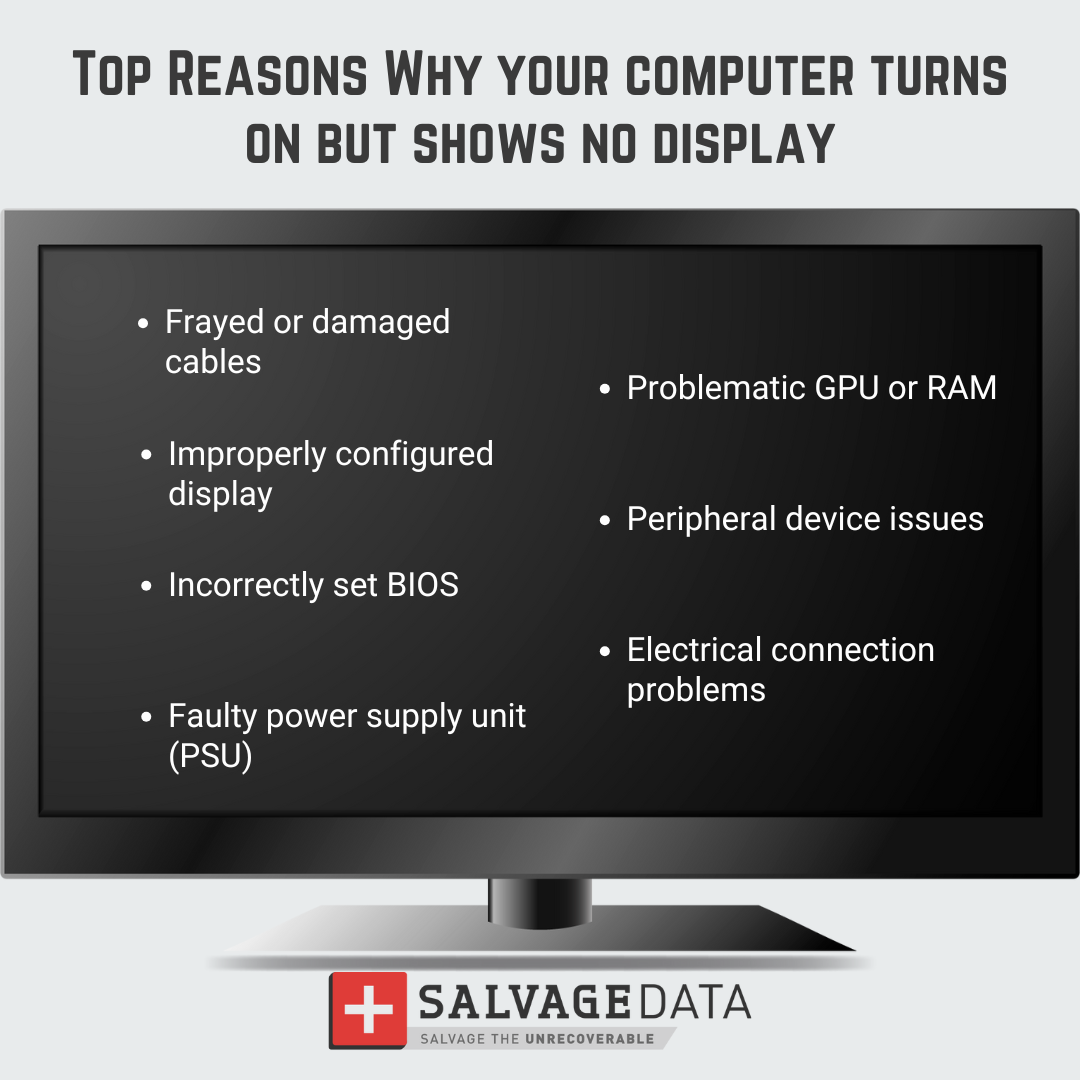
Encountering a computer that powers on but shows no display can be frustrating and concerning. At first, it is hard to determine whether the issue is with the computer or the monitor. Although scary, turning on a PC with no display showing onscreen is a relatively common computer error. This issue, prevalent among Windows users, can stem from various causes, including damaged cables, improperly configured displays, problematic GPU or RAM, incorrectly set BIOS, peripheral device issues, or even a faulty Power Supply Unit. This article will help you identify why your computer starts but the screen is black and how to fix it.
Why does your computer turn on but show no display?
There are many reasons why your computer monitor may not display anything, even though it’s turned on. One is a faulty screen, which is a common problem with laptops as they age.
- Frayed or damaged cables
- Improperly configured display
- Problematic GPU or RAM
- Incorrectly set BIOS
- Peripheral device issues
- Faulty power supply unit (PSU)
- Electrical connection problems
9 Solutions to fix PC turns on but no display
Just as there are many causes of the problem, there are several ways to fix it. Some solutions listed here are straightforward, while others may require some IT know-how.
Important: Before attempting any troubleshooting, ensure your computer is unplugged, and you're working in a static-free environment. If you're unsure about any steps, consult a professional technician.
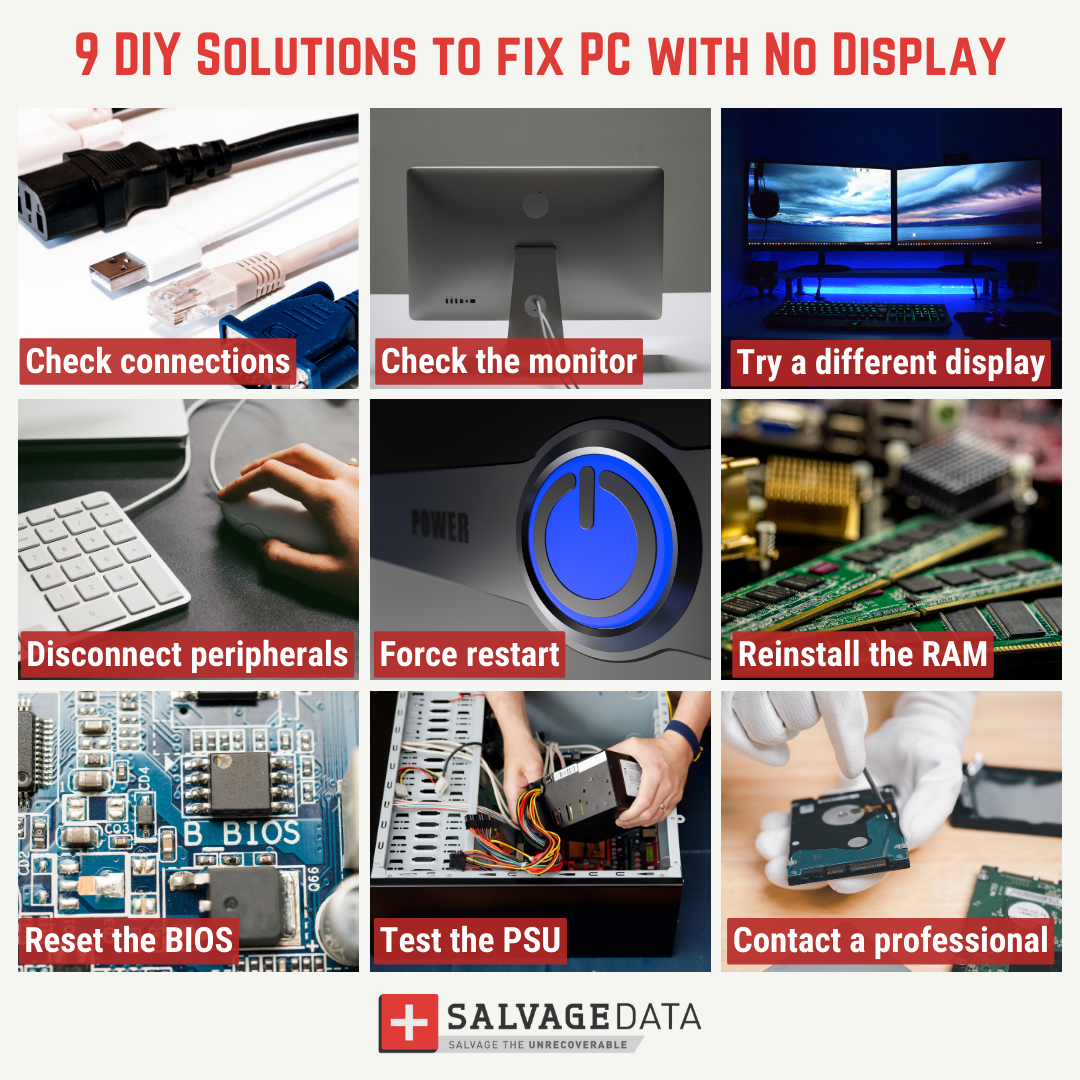
1. Check your computer’s connections
Double-check all wires and connections with meticulous attention:
- Verify display cables are securely attached to the correct ports
- Inspect cables for visible damage or fraying
- Ensure power cables are fully inserted
- Check that all connections are clean and free from dust or debris
2. Check the monitor
If your computer turns on but displays nothing, it could just be the monitor that has an issue. Conduct a thorough monitor assessment:
- Confirm the monitor's power light is illuminated
- Test the monitor with an alternative device
- Verify the correct input source is selected
- Check power adapter connections
- Swap display cables to rule out cable issues
3. Try a different display
While determining the cause of the issue, connecting your desktop computer or laptop to a different monitor can help you check whether the problem is within the device or the screen.
- Connect your computer to a different monitor or display
- Use a known working display cable
- Try multiple video output ports (HDMI, DisplayPort, VGA)
4. Disconnect peripheral devices
Unplug all peripheral devices from your computer, including your keyboard, external drives, and mouse. If a device is causing the problem, this should resolve the issue.
Systematically disconnect all non-essential peripherals:
- Unplug external drives
- Remove USB devices
- Disconnect external keyboards and mice
- Detach any additional hardware
- Restart the computer after each device removal
5. Force restart your computer
If your computer boots up but doesn’t display anything, you can try force restarting your computer to fix the issue. That’s because several simple issues are fixed during the booting process. Here are the steps to force restart your computer:
- Press and hold the power button for about 10 seconds to force shut down your PC.
- Unplug the computer from the power source
- Wait 30 seconds to discharge residual electricity
- Reconnect power and restart
- Repeat the above steps three times.
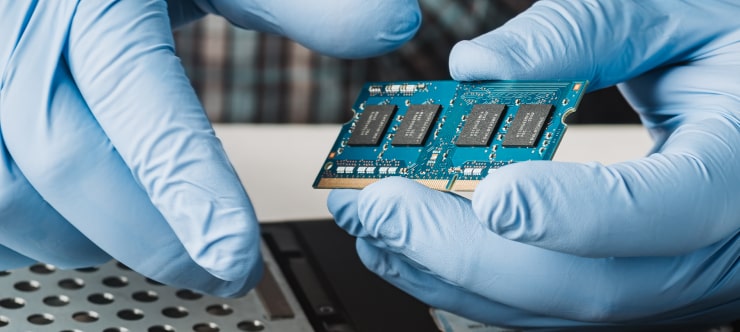
6. Reinstall the RAM
If your RAM is the issue, reinstalling it could resolve it. Follow these steps to remove and reinstall your RAM safely:
Important: For your safety, always ensure your PC is turned off and unplugged from the power supply.
To access the RAM slots, you must remove the side panel of your computer case. RAM is typically located in long, thin slots on your motherboard. To remove the RAM, unlock the clips at either end of the slots.
Gently pull the RAM straight out of the motherboard. Be careful not to touch the motherboard.
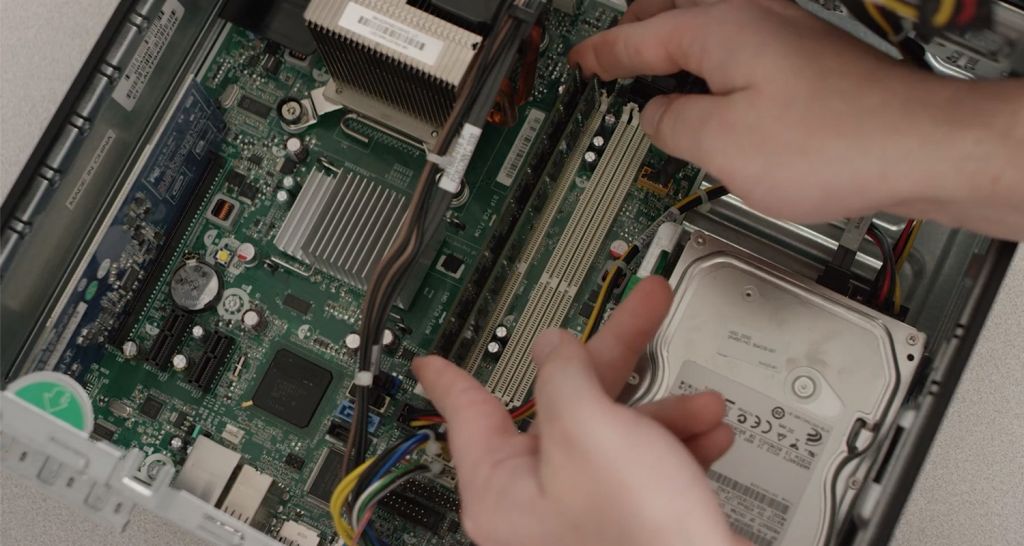
To reinstall the RAM, align it with the slot and press it in firmly until the clips lock into place.
After reinstalling your RAM, boot up your PC to check if the display is working correctly.
7. Reset the BIOS
BIOS, or Basic Input/Output System, initializes and tests hardware components during the boot process. If it encounters issues such as a malfunctioning display adapter during the Power-On Self-Test (POST), it can prevent the computer from displaying anything on the screen, leading to a "no display" issue.
When the BIOS is reset, it clears any incorrect configurations, potentially fixing problems such as improper graphics settings or conflicts between components.
Here is a step-by-step guide on how to do it:
- Press and hold the power button until your computer turns off.
- Disconnect the AC power cord from the power supply, and then open your computer case.
- Remove your CMOS battery from your motherboard with your fingernail or a non-conductive screwdriver. The CMOS is a small, round, silver-colored battery.
- Wait for 5 minutes, and then reinstall your CMOS battery.
- Connect the AC power cord to the power supply, and then turn on your computer to see if your problem persists.
8. Test the PSU
A Power Supply Unit (PSU) is a critical component in a computer that converts mains AC (Alternating Current) into low-voltage regulated DC (Direct Current) power, supplying the necessary energy to the motherboard, CPU, GPU, and other internal components.
The PSU affects the display by ensuring the graphics card receives stable and sufficient power. If the PSU is faulty or inadequate, it can lead to power fluctuations that may cause the graphics card to malfunction, resulting in display issues such as screen flickering, artifacts, or a complete lack of display output. Additionally, an insufficient PSU may not provide enough power for high-performance components, further exacerbating display problems during demanding tasks.
If your computer has a faulty PSU, it may boot without displaying anything. Consider using a power supply tester or swapping your PSU with a working one to see if this resolves the issue.
Testing your PSU can be done using a third-party PSU tester or swapping it with a known working PSU.
Test the PSU
- To start, disconnect all cables from your PSU.
- Connect the 24-pin motherboard connector to the PSU tester.
- Switch on your PSU.
- If your PSU is working correctly, the tester will indicate this by lighting up or beeping.
Consult your PSU tester’s manual for specific instructions on reading the results.
Swapping with a known working PSU
- Ensure your computer is unplugged and turned off. Open your computer case and disconnect all the cables from your current PSU.
- Unscrew the PSU from the case and remove it.
- Place the known working PSU in your case and screw it in. Connect all the necessary cables.
- Turn on your computer. Your previous PSU may have been faulty if it boots up with a display.
Remember that working with power supply units can be risky. If you’re not confident in your ability to do this yourself, consider seeking help from a professional or someone with experience.
9. Consult with a professional
It might be worth taking your computer to a professional if all else fails. They have the tools and expertise to diagnose and resolve the issue accurately.
This is especially important when you need access to the data stored on your PC. SalvageData experts can help you recover your data and save your files from a failing device.
When to seek professional help:
- Multiple troubleshooting attempts fail
- You're uncomfortable performing technical procedures
- You suspect complex hardware failure
- Critical data recovery is necessary
FAQ
How do I know if my monitor is the problem?
Test the monitor with another computer, check power connections, and verify input source settings.
Can RAM cause display issues?
Yes, loose or faulty RAM can prevent proper system boot and display.
What if my computer beeps during startup?
Beep codes can indicate specific hardware issues. Consult your motherboard manual for precise diagnostic information.
Related services
These are the most commonly requested data recovery services. At our headquarters' cleanroom lab, our certified engineers conduct a thorough review of any type of physical storage device, determining if there is logical or physical damage and carefully restoring all of the lost files.ces.
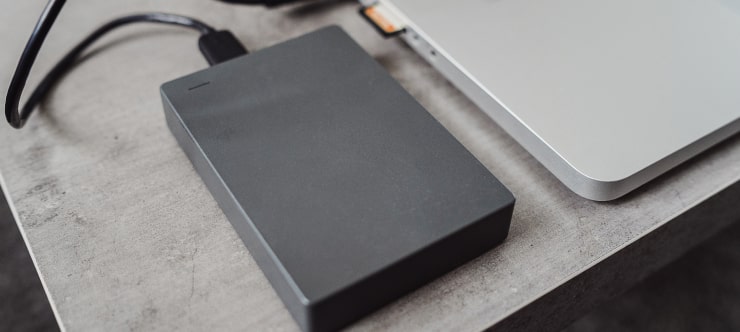
External Drive Data Recovery
We recover data from both external SSD and HDD drives. Rely on certified experts to restore your important files from damaged or corrupted external drives.
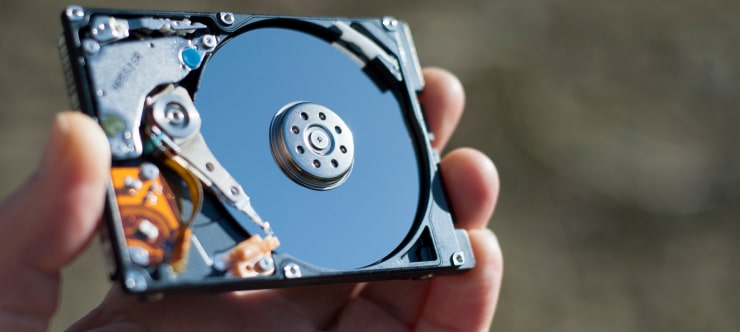
Hard Drive Data Recovery
Recover data from all brands of HDD, PC hard drives, and hybrid disks. Our specialists ensure fast and secure recovery for any data loss scenario.
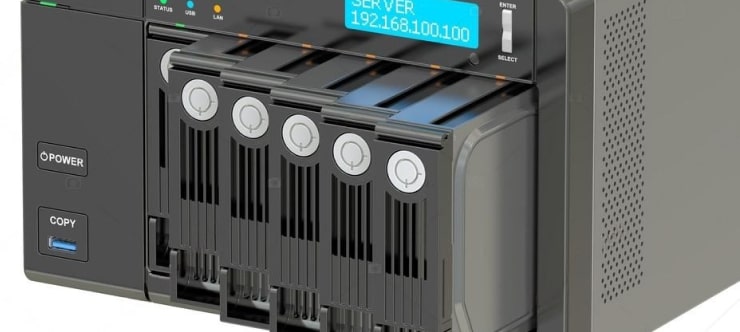
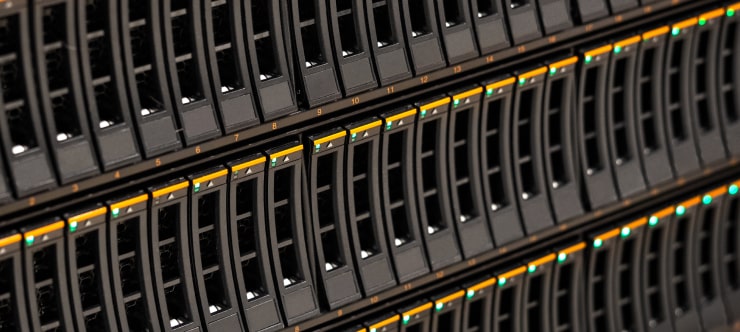
NAS Data Recovery
Recover data from NAS devices, including RAID configurations. Our team handles all types of NAS systems and ensures data recovery with minimal downtime.
RAID Data Recovery
Our RAID data recovery services cover RAID 0, 1, 5, 10, and other configurations. We offer expert solutions for failed, degraded, or corrupted RAID arrays.
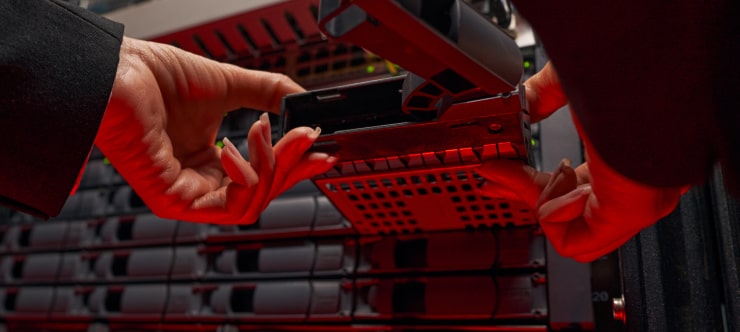
SAN Data Recovery
Our team specializes in handling SAN devices from leading manufacturers like Dell EMC, HP, and IBM, ensuring efficient recovery with minimal disruption to your operations.
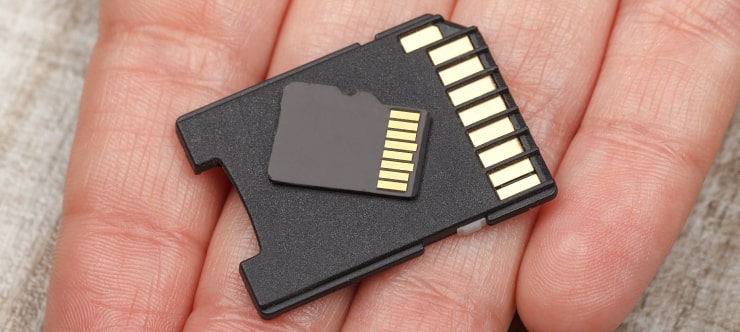
SD Card Data Recovery
Our recovery experts specialize in restoring data from SD and memory cards. We guarantee quick recovery with a no-data, no-charge policy.
SSD Data Recovery
Our data recovery experts handle all SSD data loss scenarios with advanced tools, ensuring maximum recovery with high-security protocols.

USB Flash Drive Data Recovery
Recover lost data from USB flash drives, regardless of the damage or brand. We offer free in-lab evaluations to assess data recovery needs.
If you’re unsure about which data recovery service to choose, let our team assist you in selecting the appropriate solutions. We understand the anxiety that comes with a sudden drive failure, and we are more prompt in our actions compared to other recovery service providers.