How to fix SSD Not Showing up In Disk Management – Windows 10 & 11


I think there's an issue with my storage device, but I'm not sure
Start a free evaluation
Upgrading your Windows PC or laptop with a new SSD can be an exciting enhancement, but it can quickly turn frustrating when you encounter the issue of the SSD not showing up in Disk Management. This problem can prevent you from accessing important files and effectively utilizing your storage. Understanding the reasons behind this issue is crucial for anyone looking to maximize their device's performance. In this guide, we will provide you with practical solutions to troubleshoot and resolve the problem, ensuring that your SSD is recognized and ready for use. But first, there are some rules to installing a new SSD on your Windows computer without damaging any hardware.
Checklist for proper SSD installation on Windows devices
Installing an SSD is a relatively simple process, but it’s important to take the proper steps to ensure everything goes smoothly.
- Check to see if the SSD model you’re buying is compatible with your laptop or PC (SATA, PCIe, M2, NVMe).
- Before installing your new SSD, make sure you have all the equipment. This includes:
- Phillips head screwdriver (check the size as it is usually a #00 or #0 screwdriver)
- Gloves (to protect your computer components from static electricity if you accidentally touch any part of the motherboard).
- Unplug the battery, if possible.
- Some laptops require extra tools to open their bases. A rubber or plastic scraper or even a guitar pick can help.
- Back up any data on your existing hard drive or SSD in case something goes wrong during the installation process.
- Don’t touch your motherboard.
- Disconnect your battery to avoid short-circuit damage to other parts of your laptop while screwing in your new SSD. Check how to remove the hard drive from a laptop.

How to fix SSD not showing up in Disk Management (Windows 10 and 11)
If you followed the proper steps to install your new SSD, but it is still not detected in Disk Management, you have a few solutions you can try to get your SSD working.Before moving to software fixes, confirm if the SSD is not damaged.
- Open the computer case and check if the SSD is firmly attached and in the right place.
- Check if the connector or cables are connected. Look for visible damages as well.
- Make sure your device is compatible with the SSD interface.
If you notice the SSD is damaged, contact the vendor or manufacturer to ask for a new drive.However, if everything is right with the hardware, as far as you can see, move to the software solutions.IMPORTANT: Microsoft Windows announced: “After October 14, 2025, your Windows 10 PC will no longer receive security updates and Microsoft will no longer be available to provide Windows 10 technical support.”
Solution 1. Initialize the SSD
This solution works to fix the new internal SSD that is not showing up in Disk Management.To initialize a new disk:
- Open File Explorer and right-click on This PC.
- Click on Manage.

On Windows 11, click on More Options and then select Manage.
- Find Disk Management at the left sidebar and then right-click the disk you want to initialize.
- A dialog box will open. Select the SSD to initialize and follow the on-screen steps to assign a driver letter and configure your new SSD.
Solution 2. Change the drive letter
This solution works to fix both internal and external SSDs that are not showing up in Disk Management.A conflicted drive letter, or even a nonexistent one, can prevent Windows Disk Management from finding your SSD.To change the SSD drive letter:
- Go to Disk Management following the same path as solution 1.
- Right-click in the disk volume to choose Change Drive Letter and Paths.
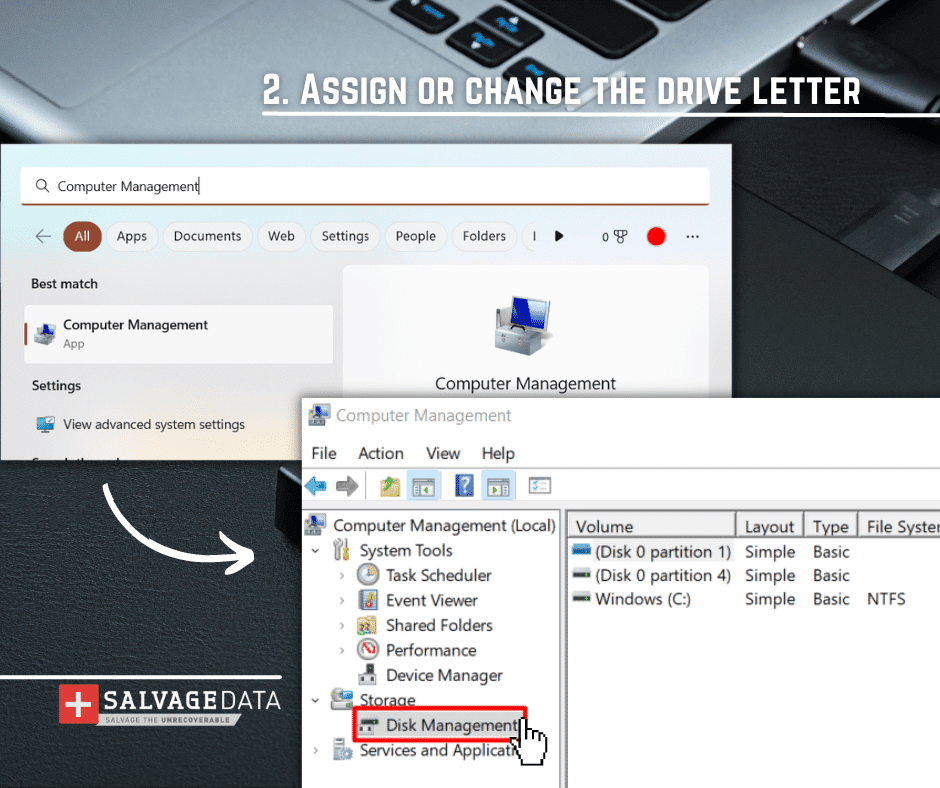
- Click on the Change button, and then select a drive letter from the list. Click OK to confirm.
Solution 3. Try to find the SSD again
This solution works to fix internal SSD not showing up in Disk Management.Sometimes, you may need to help Disk Management to find your SSD. To do so:
- Press Windows + R keys to open Run and type diskmgmt.msc.

- Once in Disk Management, go to: Action > Rescan Disks
- Wait for the scan to finish. Your SSD should show now.
Solution 4. Reinstall the disk driver
This solution works to fix both internal and external SSDs that are not showing up in Disk Management.If your SSD not showing up in Disk Management was detected, you may have an issue with the SSD driver.To fix it:
- Open File Explorer and right-click This PC.
- Click on Manage and go to System Tools.
- There, click Device Manager and expand Disk Drives.
- After that, select the SSD that is not showing up and right-click it.
- Then, click on Uninstall Device.
If the issue is with an external SSD, remove it and restart your computer. If it’s an internal SSD that is not showing up, just restart the system. Windows will automatically install a new drive during reboot. You can also try initializing the disk again if the reboot did not automatically install the SSD.For external devices, as soon as the system boots, connect the external SSD again and check if it is showing up.
Solution 5. Restart Windows Services
This solution works to fix internal SSD not showing up in Disk Management.Storage Services is a tool that allows Windows to find hardware on your laptop or PC. If disabled, the system cannot detect newly installed devices, and your SSD will not appear in Disk Management.To enable it:
- Press the Windows + R keys and type services.msc

- After that, scroll the list to find Plug and Play from the list and right-click it to select Start, if the service is disabled, or Restart, if the service is operating.
- Scroll the list again and find Storage Services. Right-click it and select either Start or Restart to enable it.
- Now, go to Disk Management and see if your SSD is showing.
Solution 6. Change the SSD file system
This solution works to fix both internal and external SSD not showing up in Disk Management.File system issues, such as incompatible format or corrupted, will prevent you from finding the SSD.Formatting the SSD will allow you to change the file system and fix the issue. However, you’ll lose all of your data.To format an SSD not showing in Disk Management:
- Go to Disk Management
- Choose from the list the disk to format, right-click, and select Format

- Select the File System and Allocation Unit Size
- Select Quick Format
- Click OK
Choose the best file system for your operating system:
- NTFS is the default file format for Windows.
- FAT32 is an older file format that’s compatible with both Windows and macOS.
- exFAT is a newer file format compatible with both Windows and macOS.
- APFS (Apple File System) is the default format for Mac.
- macOS Extended encrypts your files and requires a password.
If you need to restore your data after formatting your SSD, contact our SSD data recovery experts for a secure recovery service.
Solution 7. Adjust BIOS settings
This solution works to fix the internal SSD not showing up due to incorrect BIOS settings.The Basic Input/Output System (BIOS) is a crucial firmware interface that initializes and tests hardware components during a computer's booting process. It is the intermediary between the operating system and the hardware, ensuring that all connected devices, including internal solid-state drives (SSDs), are recognized and properly configured. If the BIOS does not detect an SSD, the operating system will also be unable to access it, leading to issues such as the drive not appearing in Disk Management or File Explorer. Proper BIOS configuration can help resolve detection problems, allowing users to access their data and utilize the full capabilities of their storage devices effectively.To change the BIOS settings, follow these steps:
- Restarting your PC.
- During the startup process, press the designated key to enter the BIOS setup (commonly F2, F10, or Del). The specific key may vary depending on your motherboard manufacturer, so check your computer's manual if unsure.
- Once in the BIOS menu, look for a section labeled "Storage Configuration" or "SATA Configuration." This is where you can manage your storage devices.

- Find the setting for SATA controller mode. Change it to AHCI, which is generally preferred for SSDs because it supports advanced features like Native Command Queuing.
- After making adjustments, save your changes (usually by pressing F10) and exit the BIOS setup.
Your computer will reboot, and Windows should now detect the SSD.If your SSD is still not working after trying these fix solutions, contact our SSD data recovery experts for a secure recovery service.
Related services
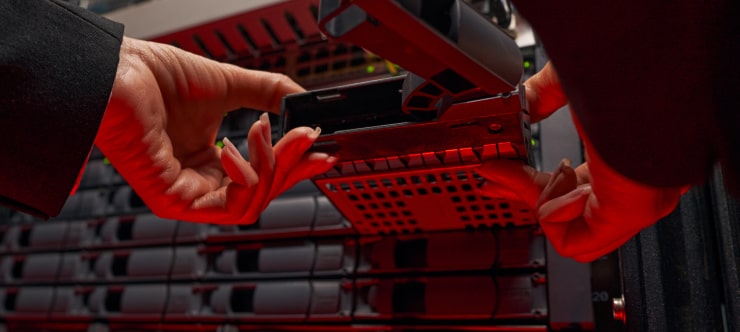
These are the most commonly requested data recovery services. At our headquarters' cleanroom lab, our certified engineers conduct a thorough review of any type of physical storage device, determining if there is logical or physical damage and carefully restoring all of the lost files.ces.
External Drive Data Recovery
We recover data from both external SSD and HDD drives. Rely on certified experts to restore your important files from damaged or corrupted external drives.
Hard Drive Data Recovery
Recover data from all brands of HDD, PC hard drives, and hybrid disks. Our specialists ensure fast and secure recovery for any data loss scenario.
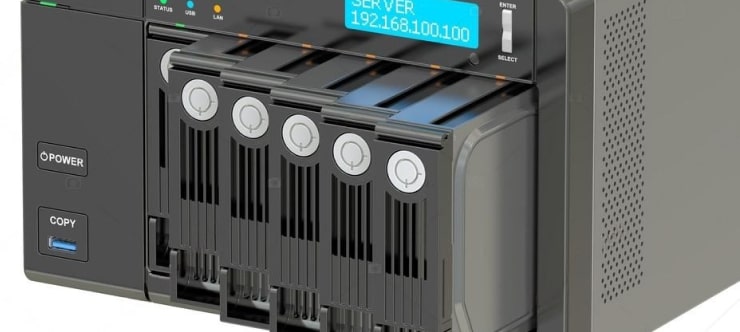
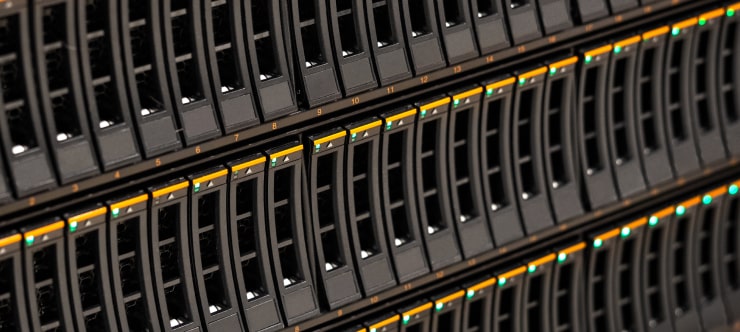
NAS Data Recovery
Recover data from NAS devices, including RAID configurations. Our team handles all types of NAS systems and ensures data recovery with minimal downtime.
RAID Data Recovery
Our RAID data recovery services cover RAID 0, 1, 5, 10, and other configurations. We offer expert solutions for failed, degraded, or corrupted RAID arrays.
SAN Data Recovery
Our team specializes in handling SAN devices from leading manufacturers like Dell EMC, HP, and IBM, ensuring efficient recovery with minimal disruption to your operations.
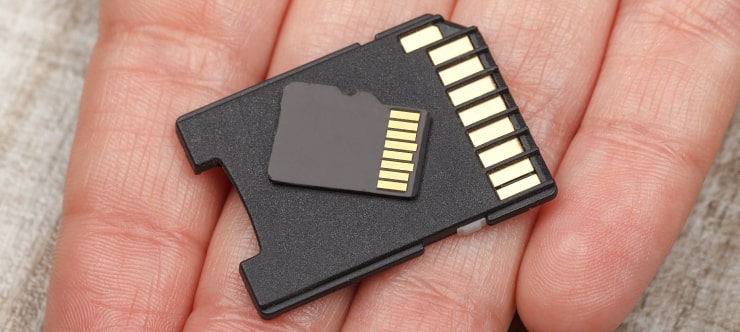
SD Card Data Recovery
Our recovery experts specialize in restoring data from SD and memory cards. We guarantee quick recovery with a no-data, no-charge policy.
SSD Data Recovery
Our data recovery experts handle all SSD data loss scenarios with advanced tools, ensuring maximum recovery with high-security protocols.

USB Flash Drive Data Recovery
Recover lost data from USB flash drives, regardless of the damage or brand. We offer free in-lab evaluations to assess data recovery needs.
If you’re unsure about which data recovery service to choose, let our team assist you in selecting the appropriate solutions. We understand the anxiety that comes with a sudden drive failure, and we are more prompt in our actions compared to other recovery service providers.