Water-Damaged iPhone: How to Recover Data & Save Your Phone


I think there's an issue with my storage device, but I'm not sure
Start a free evaluation
Having water damage to your iPhone can be very frustrating. You may not know what to do or how to fix it. Even though modern iPhones can resist water for a while, older models are more delicate and you may end up with a water-damaged iPhone. But don’t despair! There are ways you can try and fix a water-damaged iPhone and recover any lost data. There are steps to fix a water-damaged iPhone and recover any missing data from it, including photos and videos.
Symptoms of water damage iPhone
If you’re not sure your iPhone has liquid-related damages, you can see some common symptoms of it.When water or any other liquid has been in contact with your iPhone, there are some telltale signs to look out for:
- The phone won’t turn on.
- There is corrosion around the charging port or headphone jack.
- The screen shows water damage indicators such as lines, streaks, or discoloration.
- You hear a buzzing sound from within the iPhone when you shake it.
- The buttons don’t work properly.
Also, Apple has a mechanism, the Liquid Contact Indicator (LCI), that helps users to see if their iPhones and iPods have liquid damage. However, recent models, such as iPhone 14, may not have a visible LCI, but they are more resistant to water spills.
How to locate LCI on your iPhone
The LCI (Liquid Contact Indicator) on iPhones is usually a light on the side of your device that turns red when the iPhone has water damage. Earlier models have them on the left side of the iPhone, and more modern models have the LCI on the right side. To see the LCI, open the SIM card slot on your iPhone. You can open it by pushing the SIM card ejector tool (or a paperclip) into the pinhole on the side of your iPhone.
Locate LCI on iPhone 13 mini, iPhone 13, iPhone 12, iPhone 12 mini, and iPhone 12 Pro
On these iPhone models, the LCI is located on the bottom at the same side as the volume buttons.[caption id="" align="alignnone" width="640"]

Source: Apple support[/caption]
Locate LCI on iPhone 13 Pro, iPhone 13 Pro Max, and iPhone 12 Pro Max
On these iPhone models, the LCI is located on the same side as the volume buttons in the middle.[caption id="" align="alignnone" width="696"]

Source: Apple support[/caption]
Locate LCI on iPhone 11 and iPhone XR
On iPhone 11 and iPhone XR models, the LCI is located on the bottom at the same side as the ON/OFF button.[caption id="" align="alignnone" width="640"]
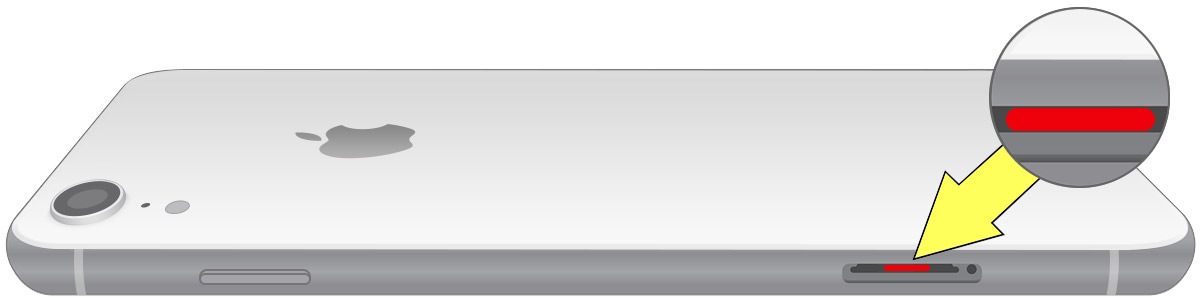
Source: Apple support[/caption]
How to locate LCI on iPhone 11 Pro, iPhone 11 Pro Max, iPhone XS, iPhone XS Max, iPhone X, iPhone 8, iPhone 8 Plus, iPhone SE (2nd and 3rd generation), iPhone 7, and iPhone 7 Plus
On these iPhone models, the LCI is located on the same side as the ON/OFF button in the middle.[caption id="" align="alignnone" width="640"]
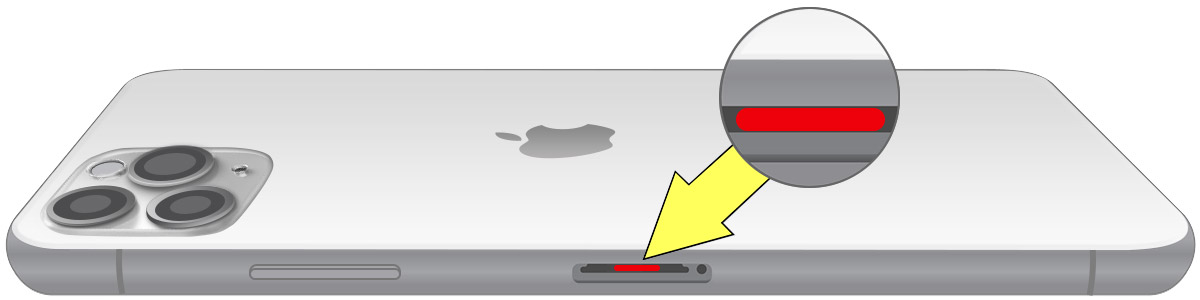
Source: Apple support[/caption]
Important: Water damages are not covered by the one-year warranty. If your iPhone presents the above symptoms and/or has the red LCI light, you must contact AppleCare or an iPhone repair service provider for help.
8 steps to fix a water-damaged iPhone
Follow these steps to salvage your iPhone before trying to recover its data.
Step 1 - Remove the iPhone or iPod from the water or the wet surface
The first step may seem the most obvious one, but we can’t overlook the basics. Also, you may pick your iPhone from the water, as if it falls on a pool, but, you must look for a dry surface to proceed to the next steps. Therefore, you can’t leave it on wet surfaces, even if it is not soaked in water.
Step 2 - Power off your iPhone
Shut down your iPhone immediately. This will minimize the water damage and help prevent further corrosion or data loss.Your phone has electrical circuits, and, the sooner you power it down, the higher your chances of salvaging both the iPhone and the data on it.If you can’t turn off your iPhone, you can try to force it to turn off.
Warning: Don’t turn it back on until you finish all the steps and don’t plug it into a power source or another device, such as a computer.
Step 3 - Remove the iPhone case and the SIM card
Take out the SIM card, battery, and any other removable parts from your iPhone. If you use a case, remove it as well to allow the iPhone to “breath” and prevent it from holding in moisture.
Step 4 - Wipe the iPhone
Use a clean, dry, and soft towel or another absorbent cloth to wipe down the phone.Try to remove the most water you can, and get all the excess moisture off. You can use a cotton swab to attempt to dry smaller parts of the iPhones, such as the charging port, the volume keys, and the headphone jack.
Step 5 - Check the LCI light
Check if the red LCI light is on. If it’s, you’ll have to contact a data recovery service or try DIY methods to restore your iPhone.
Step 6 - Wait 48 hours
Leave the iPhone in a dry and ventilated room for at least 48 hours so that any remaining water can evaporate completely away from the device.Remove any part you can, such as the battery and SIM card slot.DON’T use a hairdryer to dry your iPhone as the heat can damage other parts of the iPhone.DON’T put it on uncooked rice, as it has no proof of being effective. Besides, dust and grains can get inside the iPhone, leading to other damages.You can use silica gel instead of uncooked rice. Cover the iPhone with silica gel sachets, if you have those in your house or can easily buy them at craft shops or even Amazon.If you don’t have silica gel sachets, just leave the iPhone on a dry surface. If possible, place it over a towel to absorb any moisture still on it.
Step 7 - Turn on your iPhone
Reassemble your iPhone and try turning it back on to see if it works properly after drying up completely.Don’t try any DIY methods to open the iPhone and remove the water from inside of it unless you’re confident you can do it without damaging your iPhone any further.The best way is to seek professional help.
Step 8 - Backup your iPhone
As soon as your water-damaged iPhone turns on, back it up to your iCloud account or another cloud service of your preference.
Water-damaged iPhone data recovery
After completing the steps on trying to salvage the iPhone and back up its data, you should look for an iPhone data recovery service near you to make sure there is no moisture left and no other damage resulting from the water.
1. Recover water-damaged iPhone data from a backup
The best way to recover water-damaged iPhone data is by selecting to restore it from the backup you made. You may need to connect your iPhone to a computer and select an iCloud backup to restore your iPhone.
To recover your iPhone data from an iCloud backup:
1. Turn on your iPhone and erase all its contents2. Follow the on-screen setup steps until Apps & Data, where you should choose the option Restore from iCloud Backup.[caption id="" align="alignnone" width="384"]
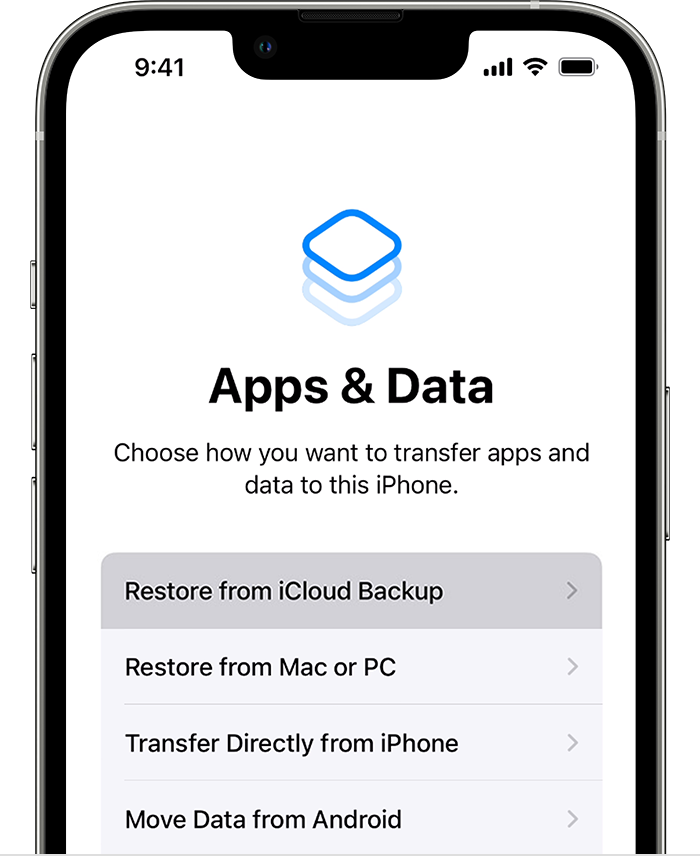
Source: Apple support[/caption]3. Sign in with your account and choose a backup.Don’t turn off the iPhone and keep it connected to the Wi-Fi until the restore finishes.
To restore your iPhone data using a computer
1. Open Finder or iTunes and connect your water-damaged iPhone to your computer or Mac2. Find your iPhone and click on the option Restore Backup[caption id="" align="alignnone" width="830"]
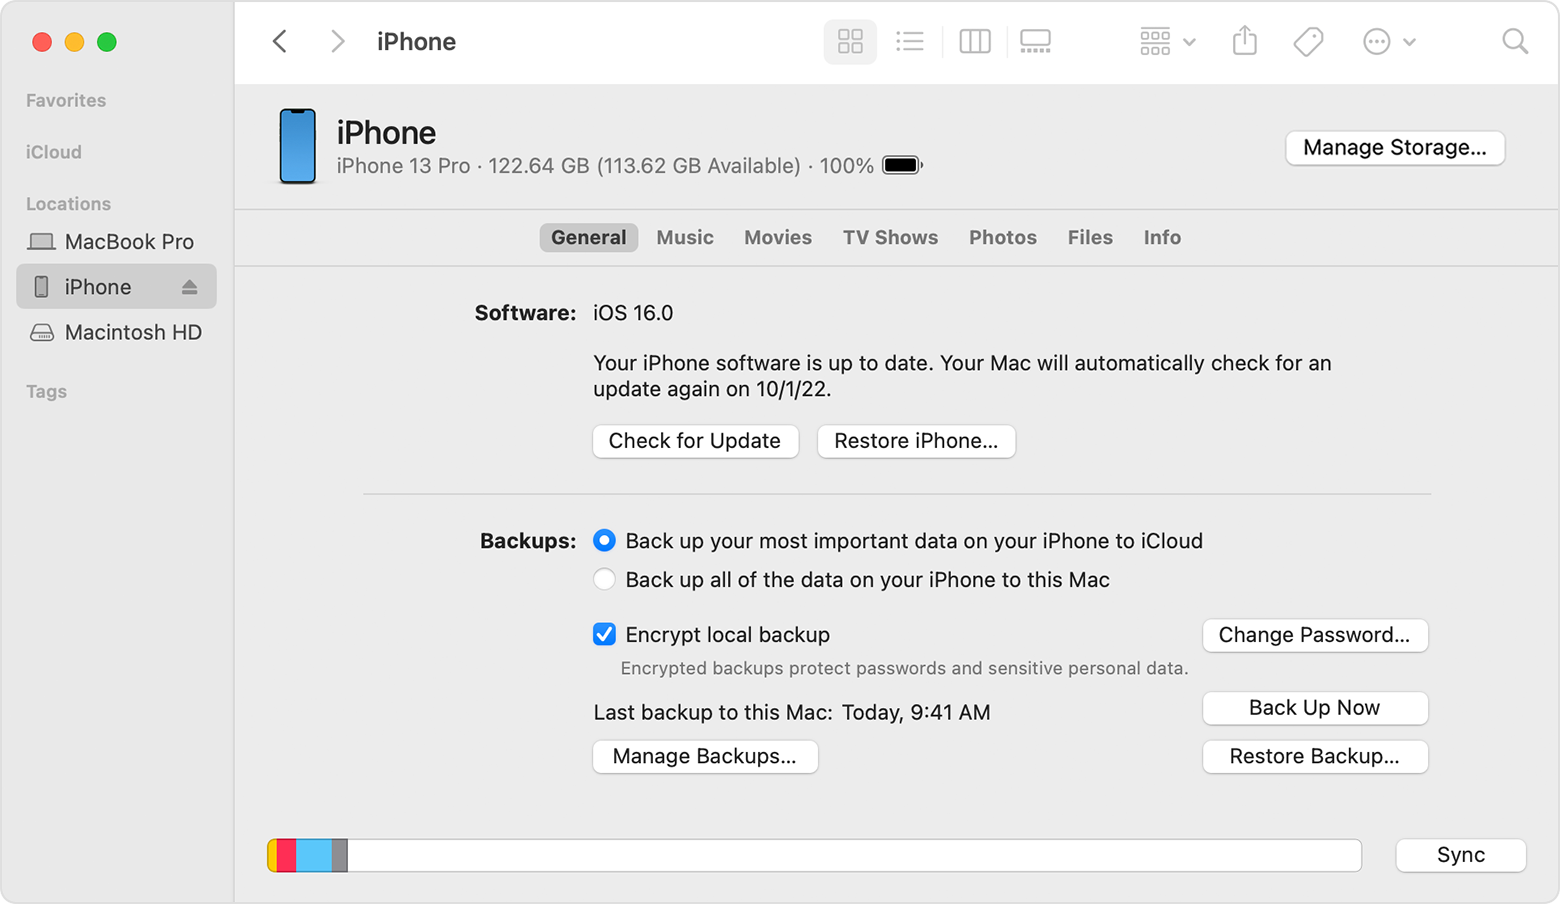
Source: Apple support[/caption]Choose the backup you want to restore your iPhone from and click the Restore button.
2. Retrieve data from a water-damaged iPhone using software
If you can turn on your water-damaged iPhone and the USB port is working, you can connect it to your Windows or Mac computer and use iPhone data recovery software to retrieve any missing files.
3. Contact a data recovery service to restore & fix your iPhone with water damage
However, if your water-damaged iPhone won’t turn on anymore, the best way to recover data from it is to contact an Apple professional data recovery service. These services will help retrieve your iPhone's lost photos, videos, contacts, and other important files that may still be stored in the iPhone’s memory.SalvageData experts can restore photos and videos from the most damaged phones, making impossible data recovery cases possible.
Related services
These are the most commonly requested data recovery services. At our headquarters' cleanroom lab, our certified engineers conduct a thorough review of any type of physical storage device, determining if there is logical or physical damage and carefully restoring all of the lost files.ces.
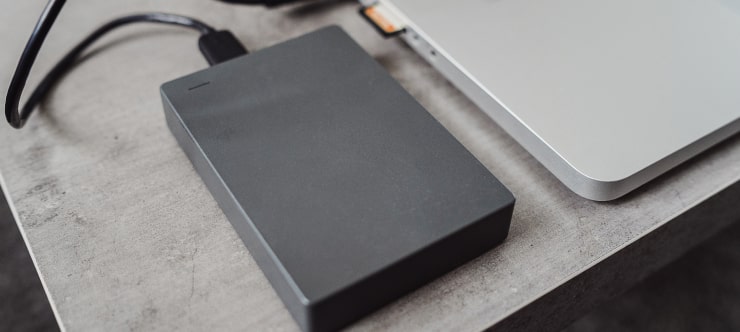
External Drive Data Recovery
We recover data from both external SSD and HDD drives. Rely on certified experts to restore your important files from damaged or corrupted external drives.
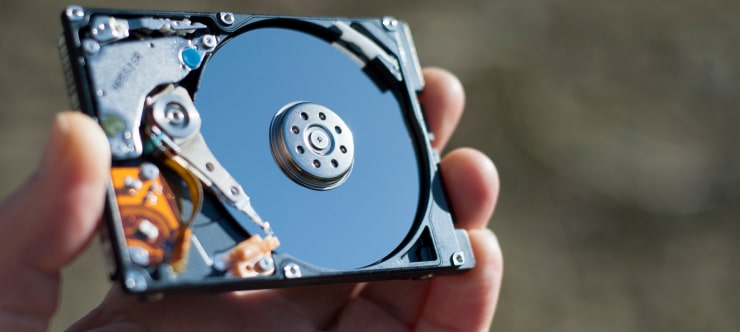
Hard Drive Data Recovery
Recover data from all brands of HDD, PC hard drives, and hybrid disks. Our specialists ensure fast and secure recovery for any data loss scenario.
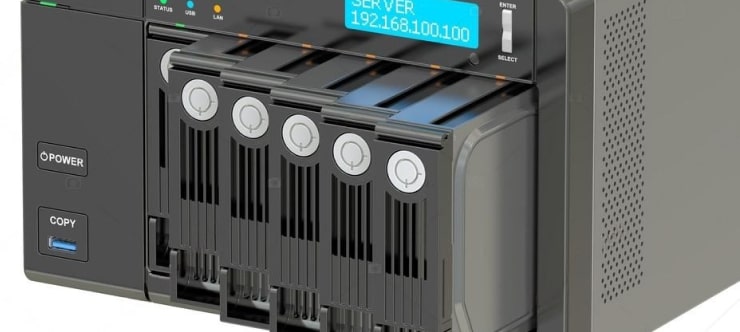
NAS Data Recovery
Recover data from NAS devices, including RAID configurations. Our team handles all types of NAS systems and ensures data recovery with minimal downtime.

RAID Data Recovery
Our RAID data recovery services cover RAID 0, 1, 5, 10, and other configurations. We offer expert solutions for failed, degraded, or corrupted RAID arrays.

SAN Data Recovery
Our team specializes in handling SAN devices from leading manufacturers like Dell EMC, HP, and IBM, ensuring efficient recovery with minimal disruption to your operations.
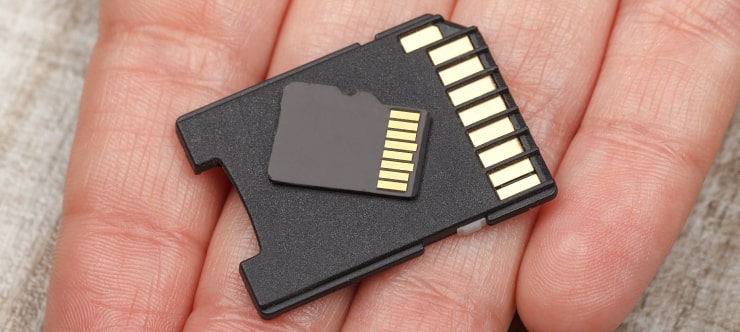
SD Card Data Recovery
Our recovery experts specialize in restoring data from SD and memory cards. We guarantee quick recovery with a no-data, no-charge policy.
SSD Data Recovery
Our data recovery experts handle all SSD data loss scenarios with advanced tools, ensuring maximum recovery with high-security protocols.

USB Flash Drive Data Recovery
Recover lost data from USB flash drives, regardless of the damage or brand. We offer free in-lab evaluations to assess data recovery needs.
If you’re unsure about which data recovery service to choose, let our team assist you in selecting the appropriate solutions. We understand the anxiety that comes with a sudden drive failure, and we are more prompt in our actions compared to other recovery service providers.